
I was originally going to make the storage out of wood but I
realized I had tons of cardboard from moving. Instead of throwing it all out, I
decided to use it. I also have tons of fabric I collected and never used over
the years. For this project, I only had a choice between red or white cotton
fabric since nothing else was big enough.
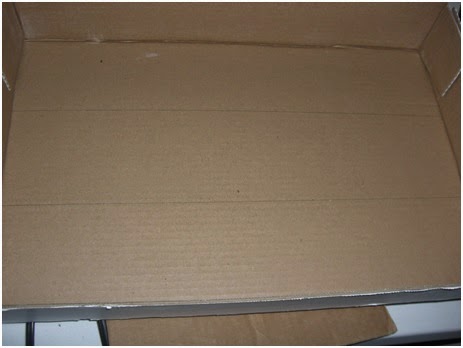 |
I used a cap of a box which has dimensions of 18" x
12" x 3". I marked the lines to be about 3.875" because the
inside is smaller than 12". I tried to make it as even as I could without
going too far in the numbers.
|
 |
I decided to make the two slits connect so I used a longer
piece of cardboard and bent the ends.
|
 |
Fits perfectly in.
|
 |
Now the second slit is in.
|
 |
Mark up the fabric and cut it out. The lid needed to have
enough to wrap around and glue on the inside of the lid. So knowing that the
lid is 3", it has to go on the outer and inner and a bit over to glue on
the bottom of the inside. 7" around the box was enough, could have went
less but didn't want to screw up. The long piece wraps around the shelves of
the cardboard with a inch extra on both sides.
|
 |
Cutting the corner, leaving about an inch to each side.
|
 |
Taped one end of the cardboard together. Pinned it down to
center it.
|
 |
Wrapping and hot gluing the fabric down. I always do long side
first.
|
**I forgot to take pictures after this point to put the
shelf together**
Happens when I get so absorbed in making it. Sorry.
After the fabric for the lid was glued down, I glued down
the long piece. I then connected the ends together by laying one fabric over
the other and folding back the layer on top. So, it would be a rectangle at
this point. For the corners, I had to pin the fabric up to see the cardboard
connect to the line when I hot glued it down. After it was connected, I added
hot glue to the seam for extra support and glue the fabric down after.
I cut little cardboard pieces to be placed down the center
of the box. I wasn't convinced the shelf would hold since my heaviest amiibo
currently is Bowser. I wrapped it in fabric the same way as the long shelf and
glued it down.
**Remembered to take pictures**
 |
Cut out each individual box shelf for the backing. Mine were
all slightly different in size. Of course I was mostly guessing for this.
|
These pieces only needed to be wrapped on the face of the
cardboard. so about a inch extra all around was enough. Fold back the fabric
and glue it down on the back side.
Last thing to do is glue all pieces down and clean it up.
 |
Finished!
|
Well for part 1, it is finished. I wanted to make door(s)
for the shelf but the depth size is too small. Due to Bowser, really everything
is due to him, I actually needed a deeper lid if I wanted to put a door.
Instead, I'll just add the modification around the current lid. Another thing I
need to do, is find a place to wall mount it.
Part 2 here.
Part 2 here.
No comments:
Post a Comment